Working with the project
First open
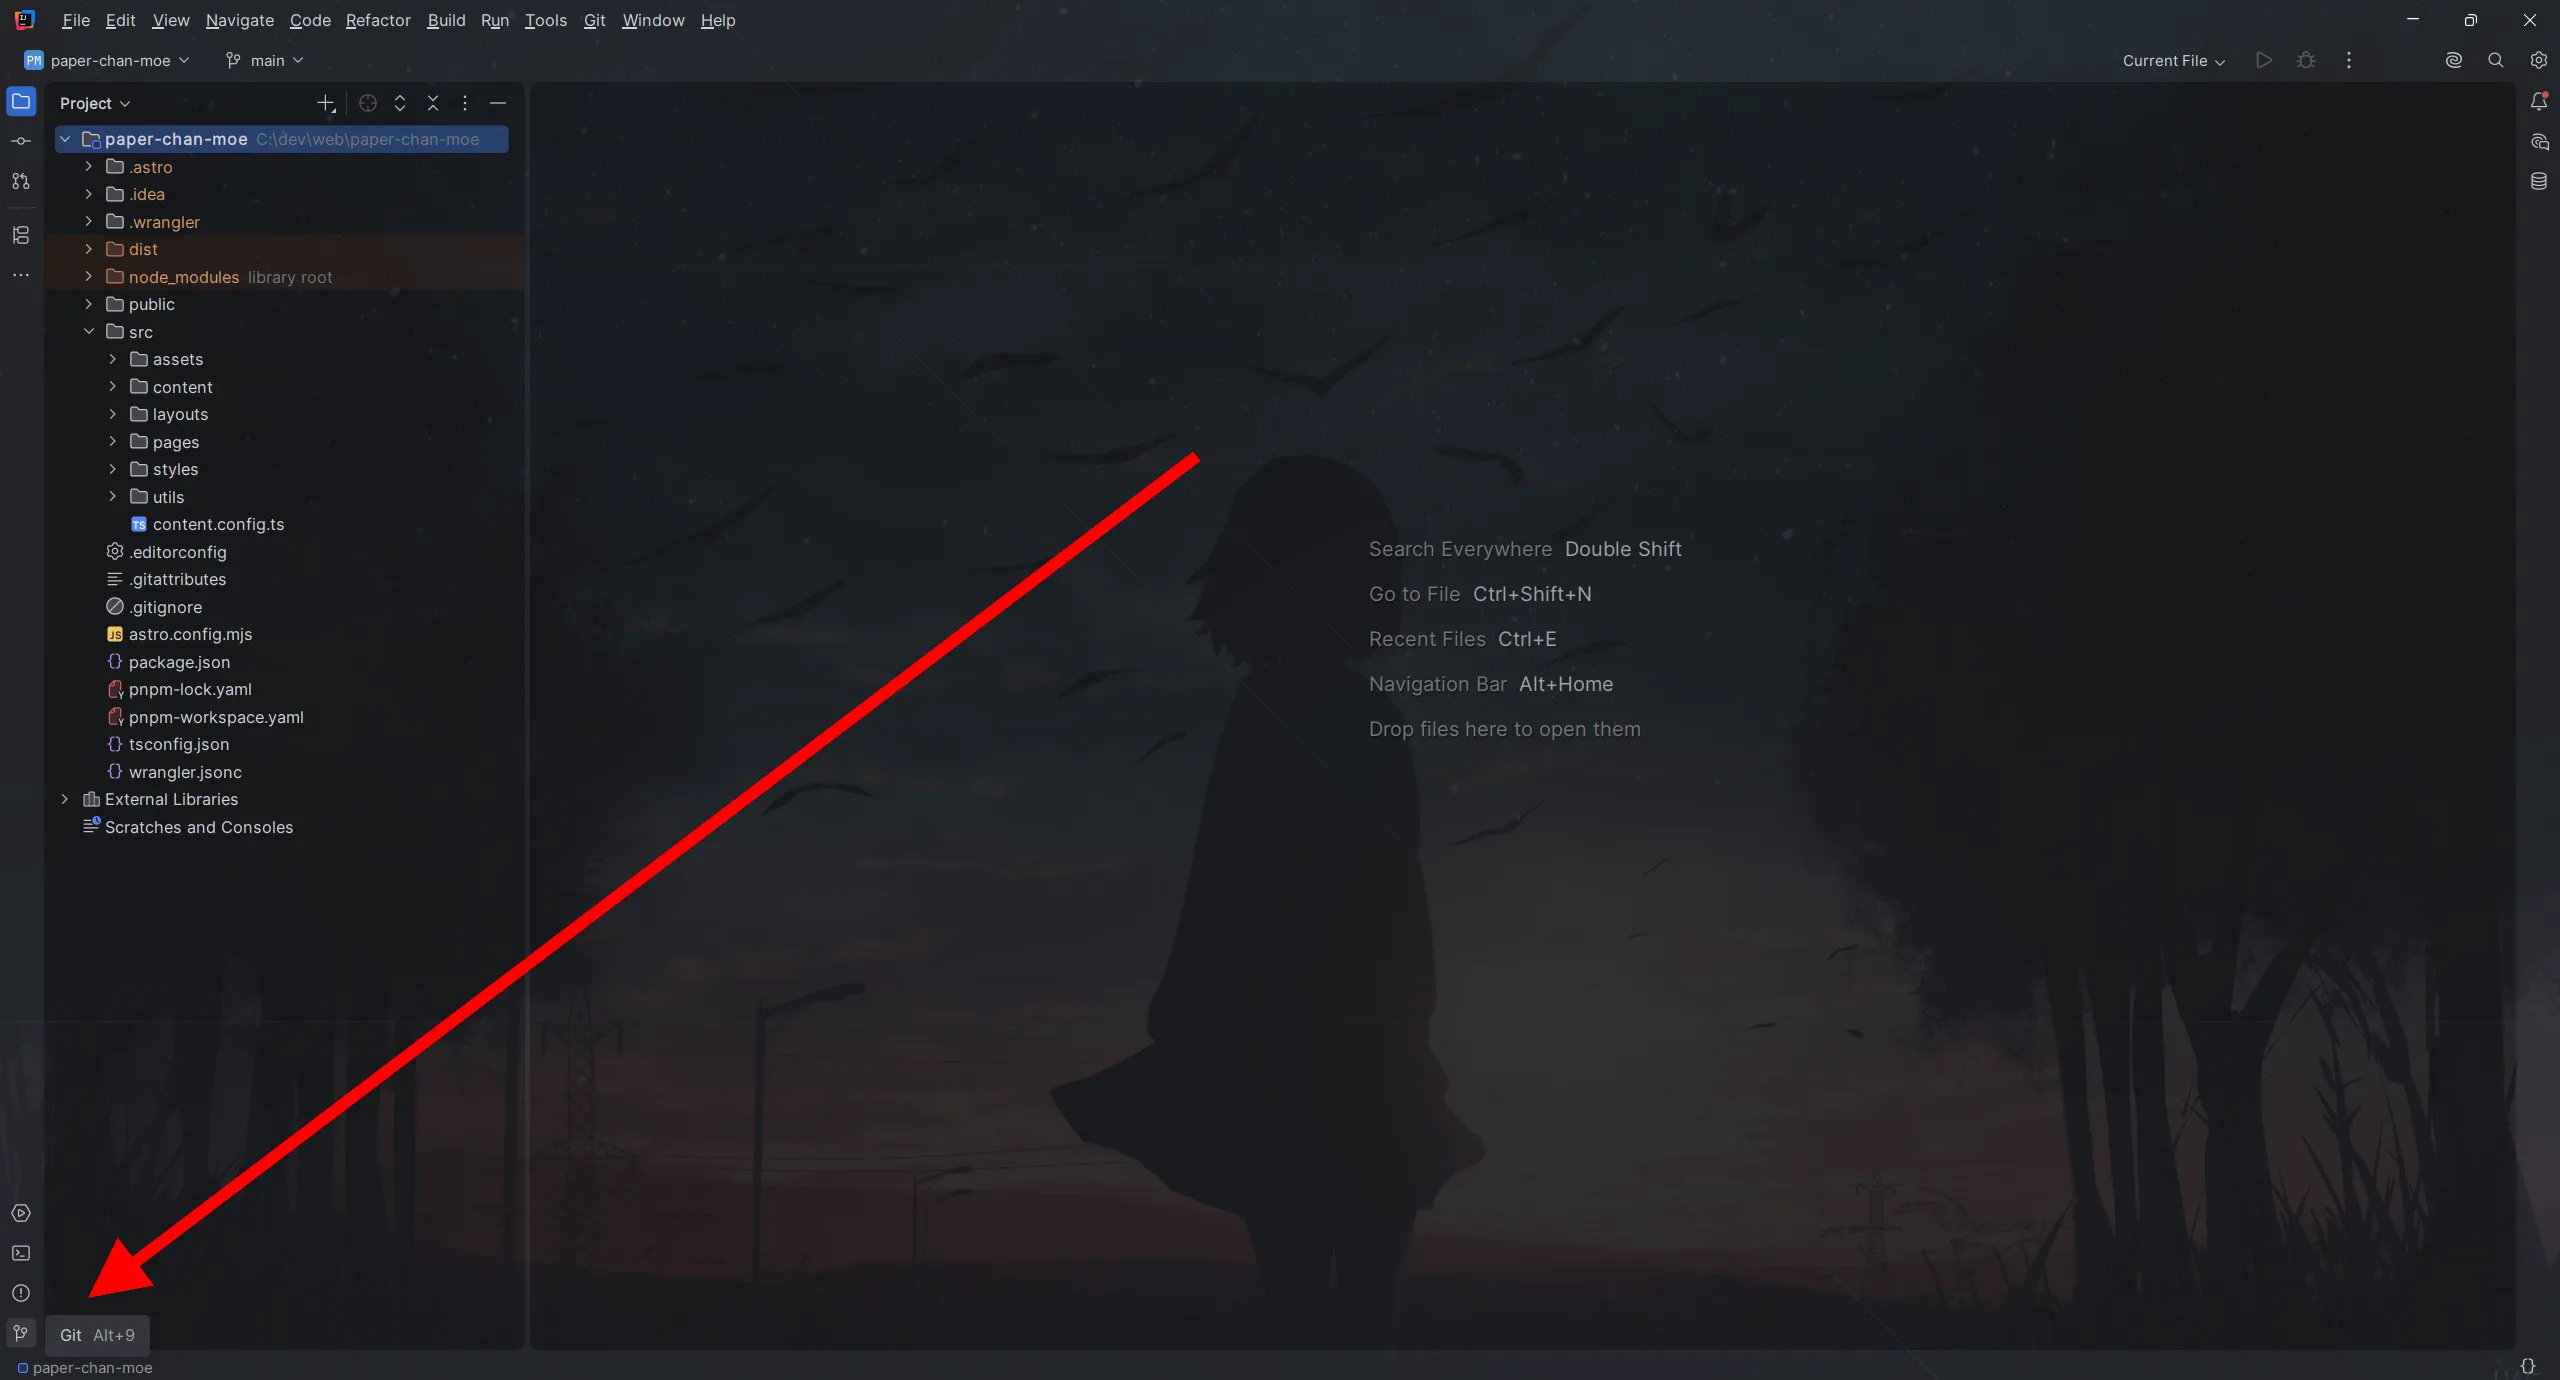
Section titled “First open”When you open the project for the first time, it should look something like this. It will look different for you, because I have configured my IDE (compact mode, and a few other things). Also yes, the background image is just to annoy you.
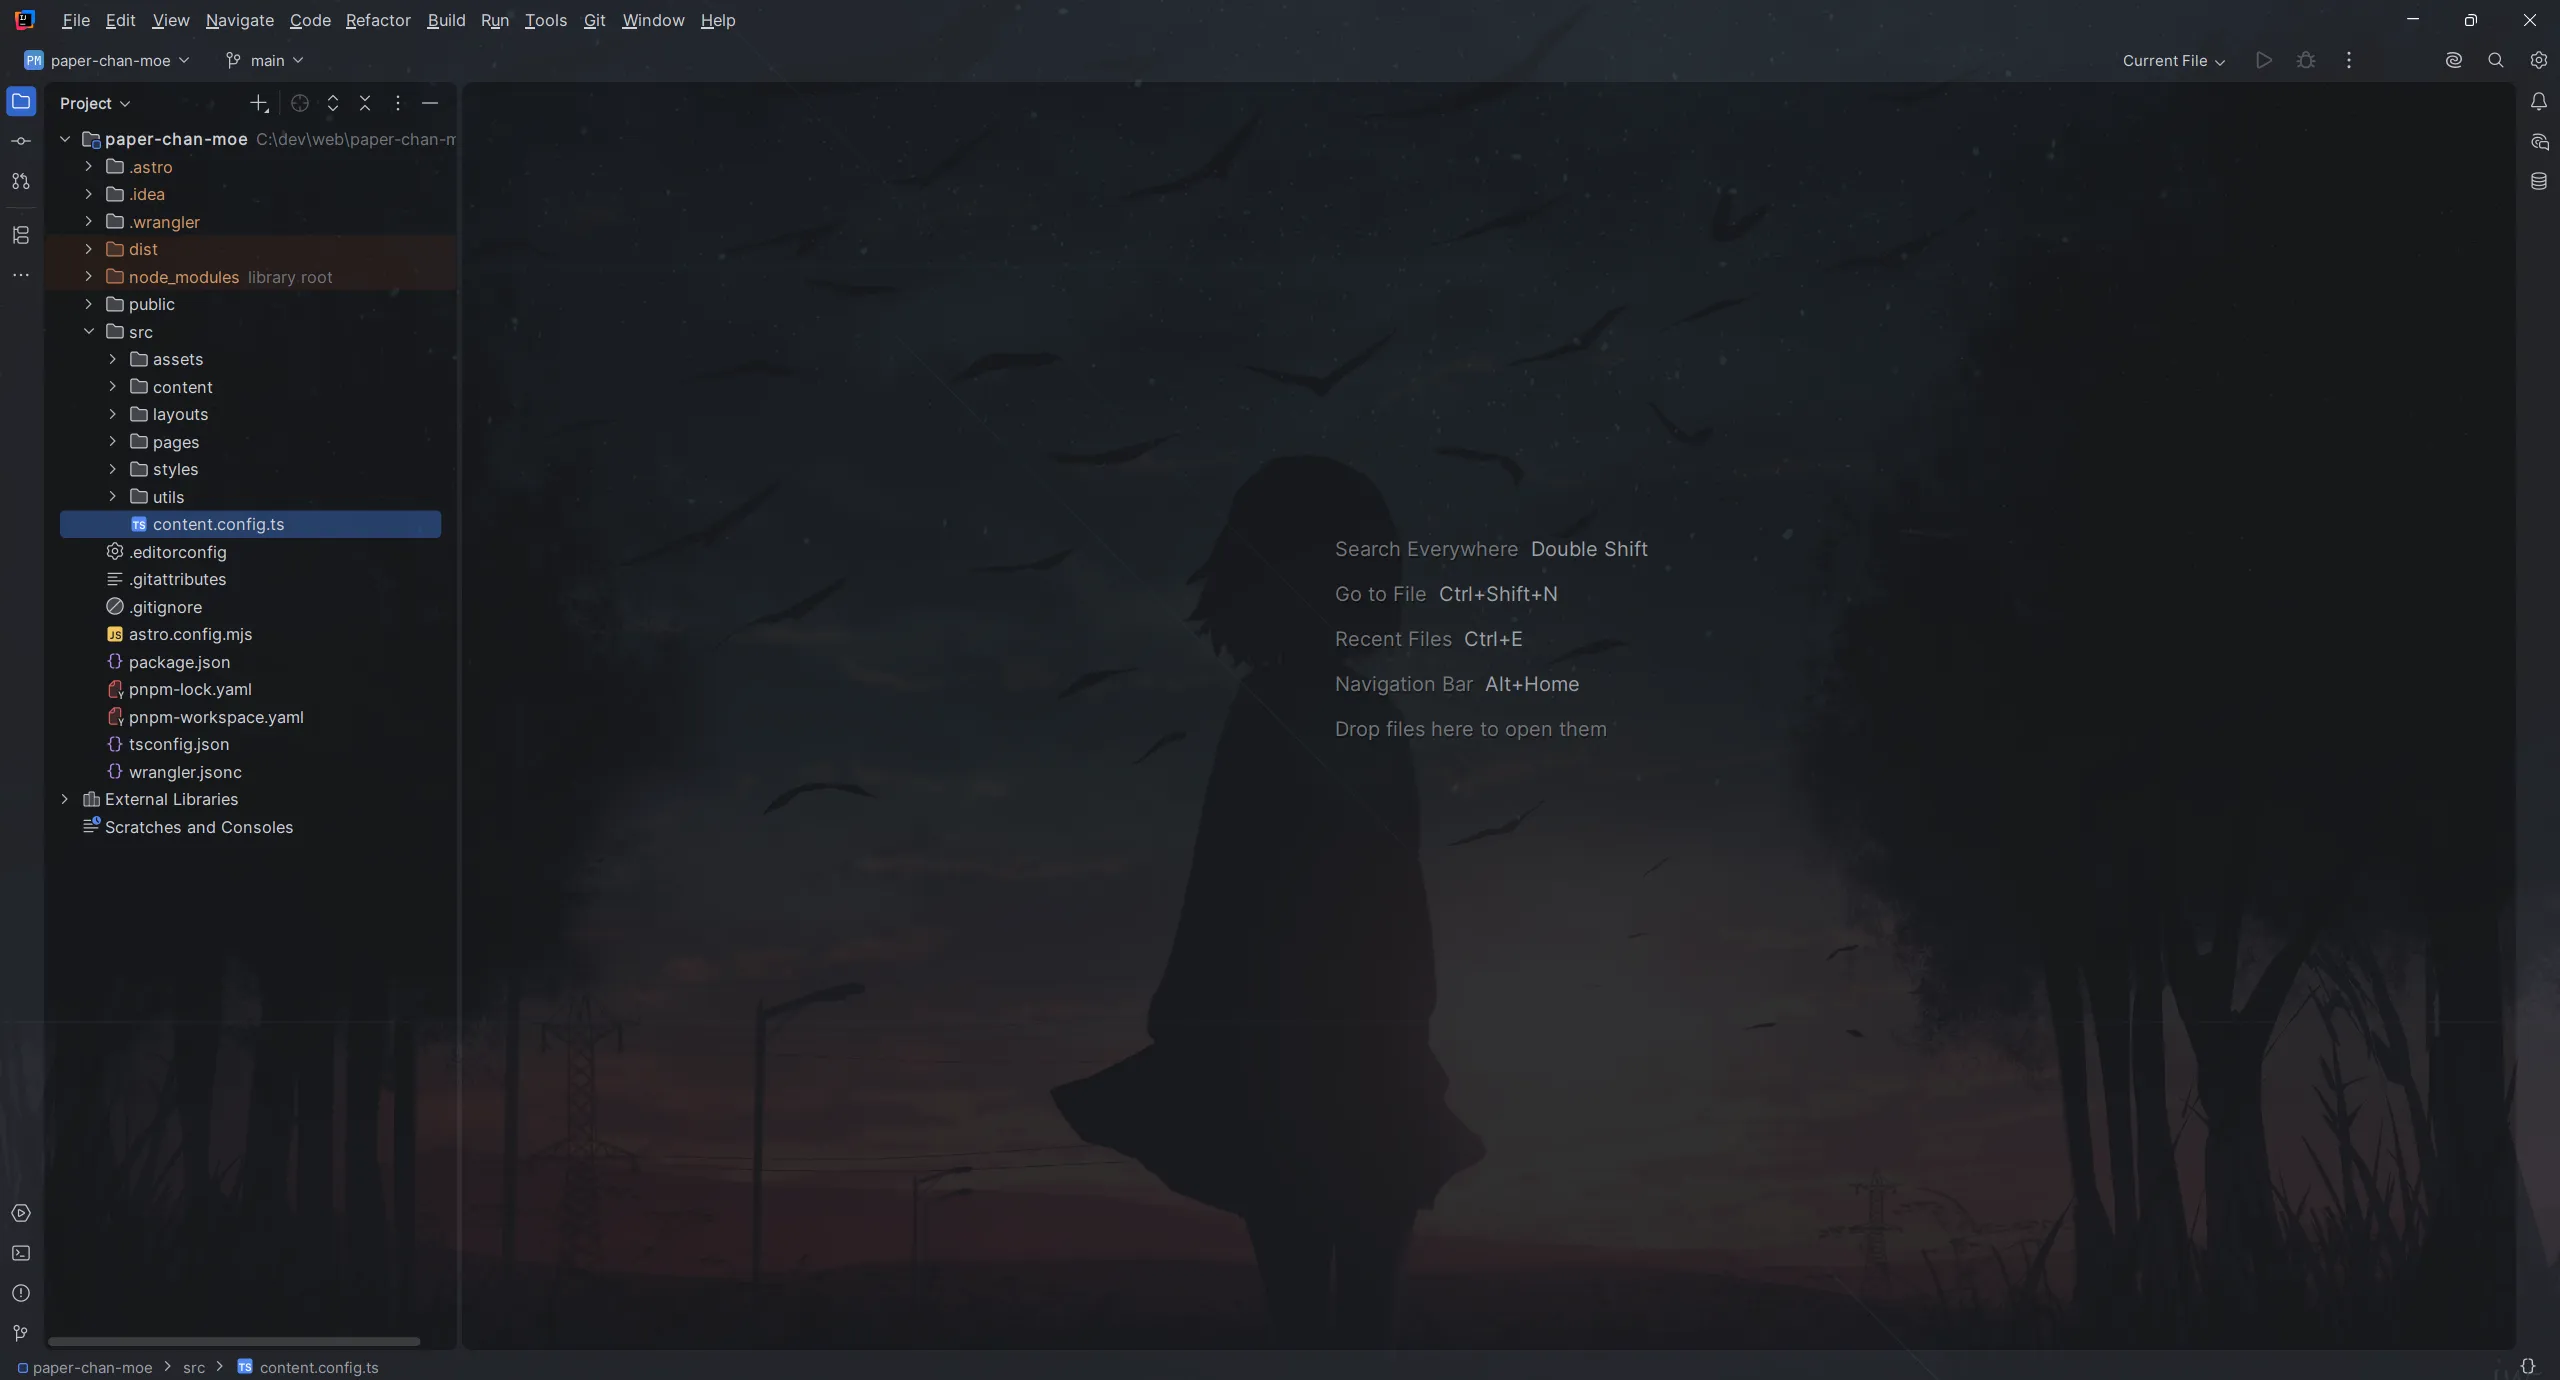
Okay anyway, in general, the relevant stuff happens in a few places, lemme explain it for you.
The left sidebar
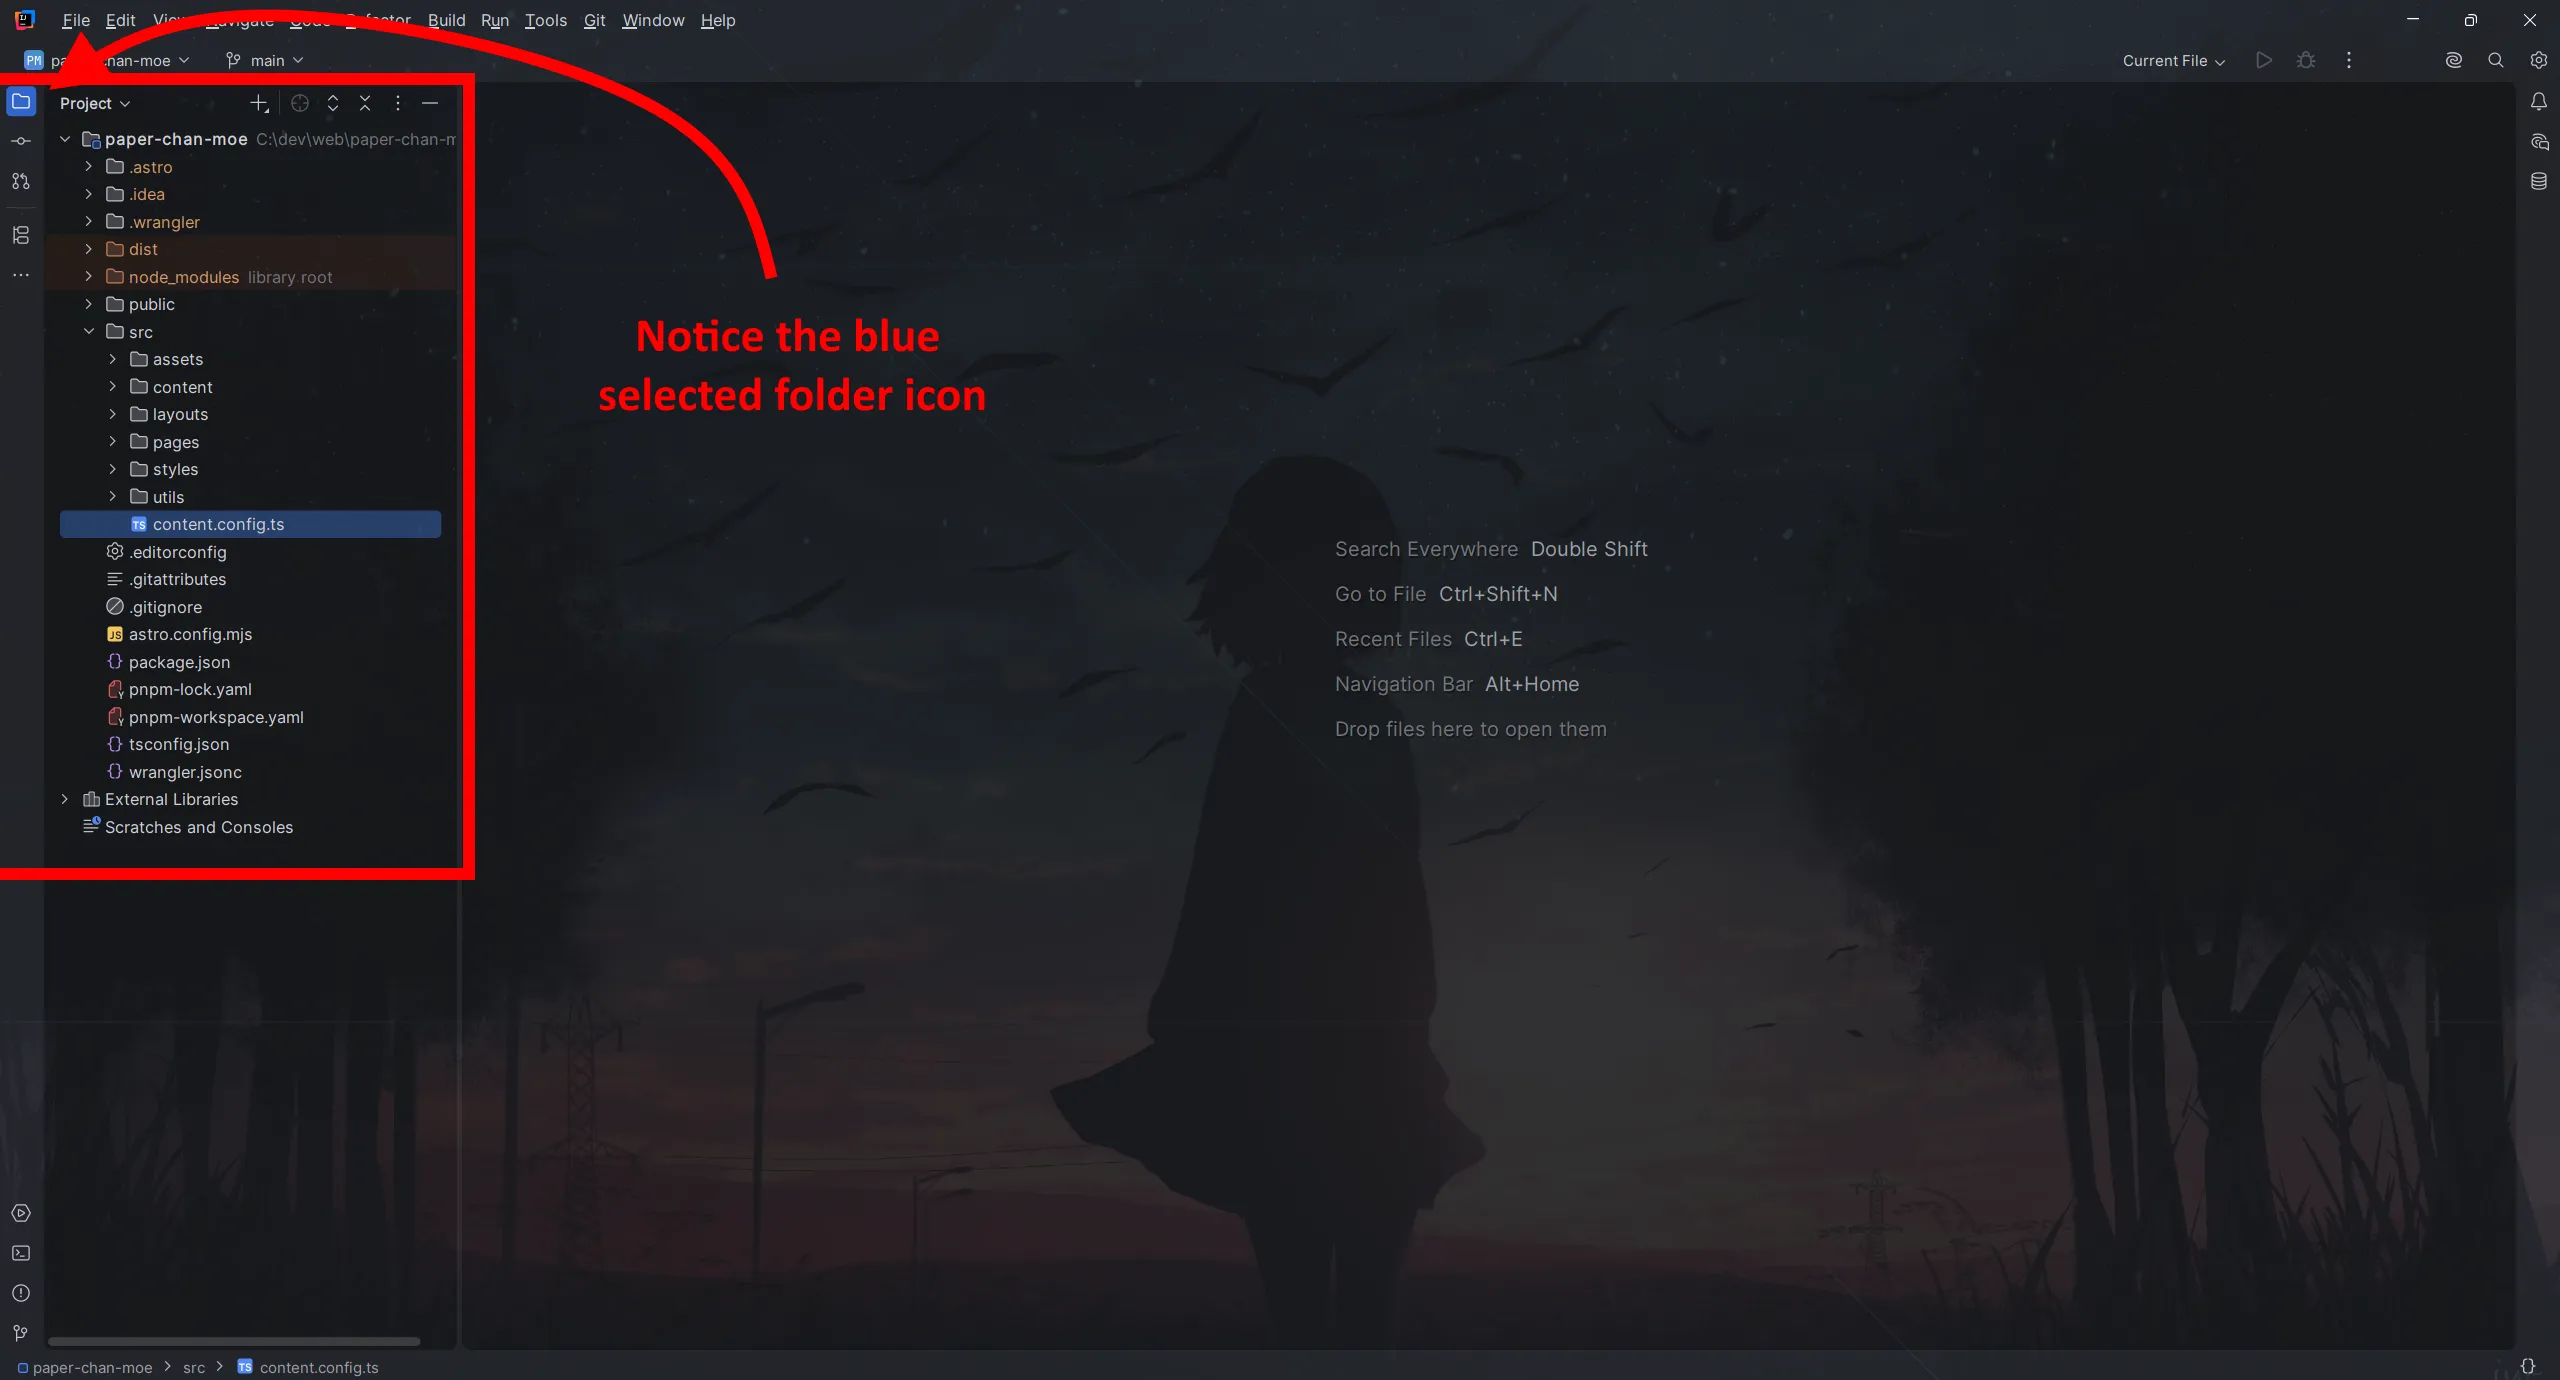
Section titled “The left sidebar”Two things are happening here that are relevant for you. First of all, and open by default, is the project file viewer. Pretty self-explanatory I believe.
If you press the button right below it, that’s where you can commit your changes. The image below shows that and some numbers. The explanations are right below.
Commit changes
Section titled “Commit changes”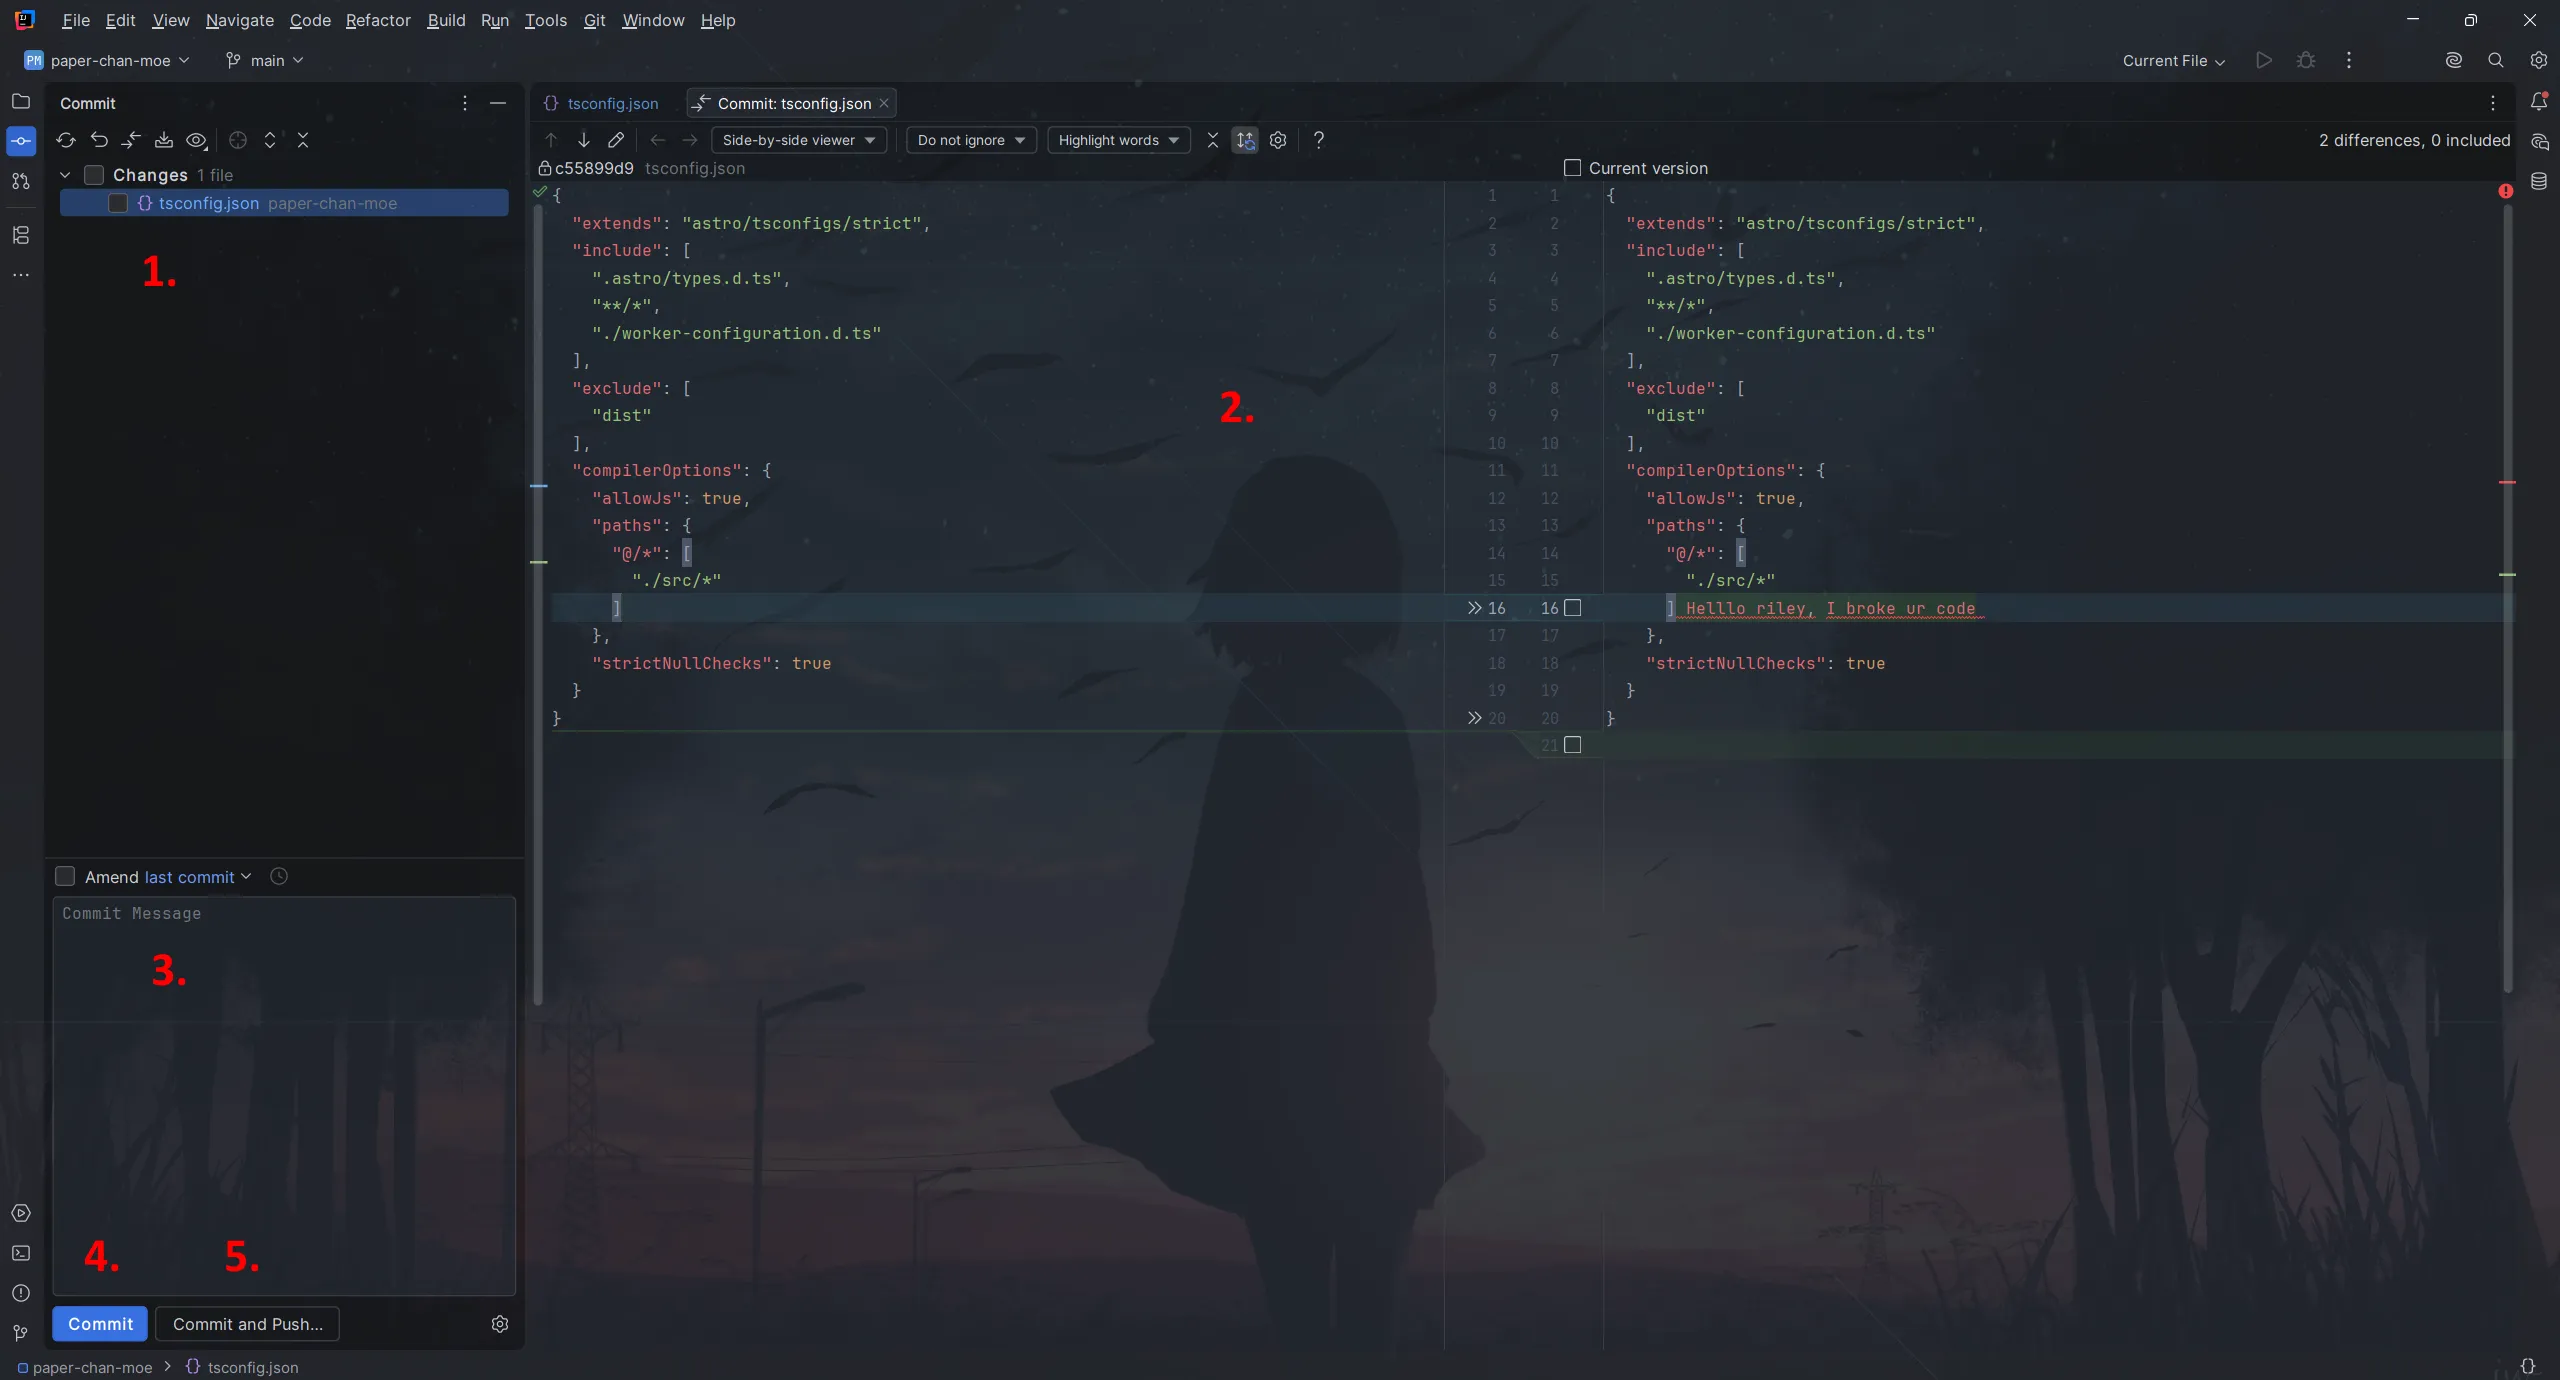
-
Here you can see the changed files. Only the files you have checked (notice the checkbox left of the file name) will be committed, the rest are left uncommited. You can press the checkbox left of the Changes text at the top to select all files to be committed.
-
When you click on a file, you can view the difference between your changes and the original file. Green highlighted text are additions, whilst red highlighted text are removals.
-
In this textbox, you can add your commit message.
-
This button commits the changes, but does not push to the GitHub repository.
-
This button commits and directly pushes the changes to the GitHub repositroy
There are more buttons (like at the top, above the Changes text), but you can just hover over them to get a short description.
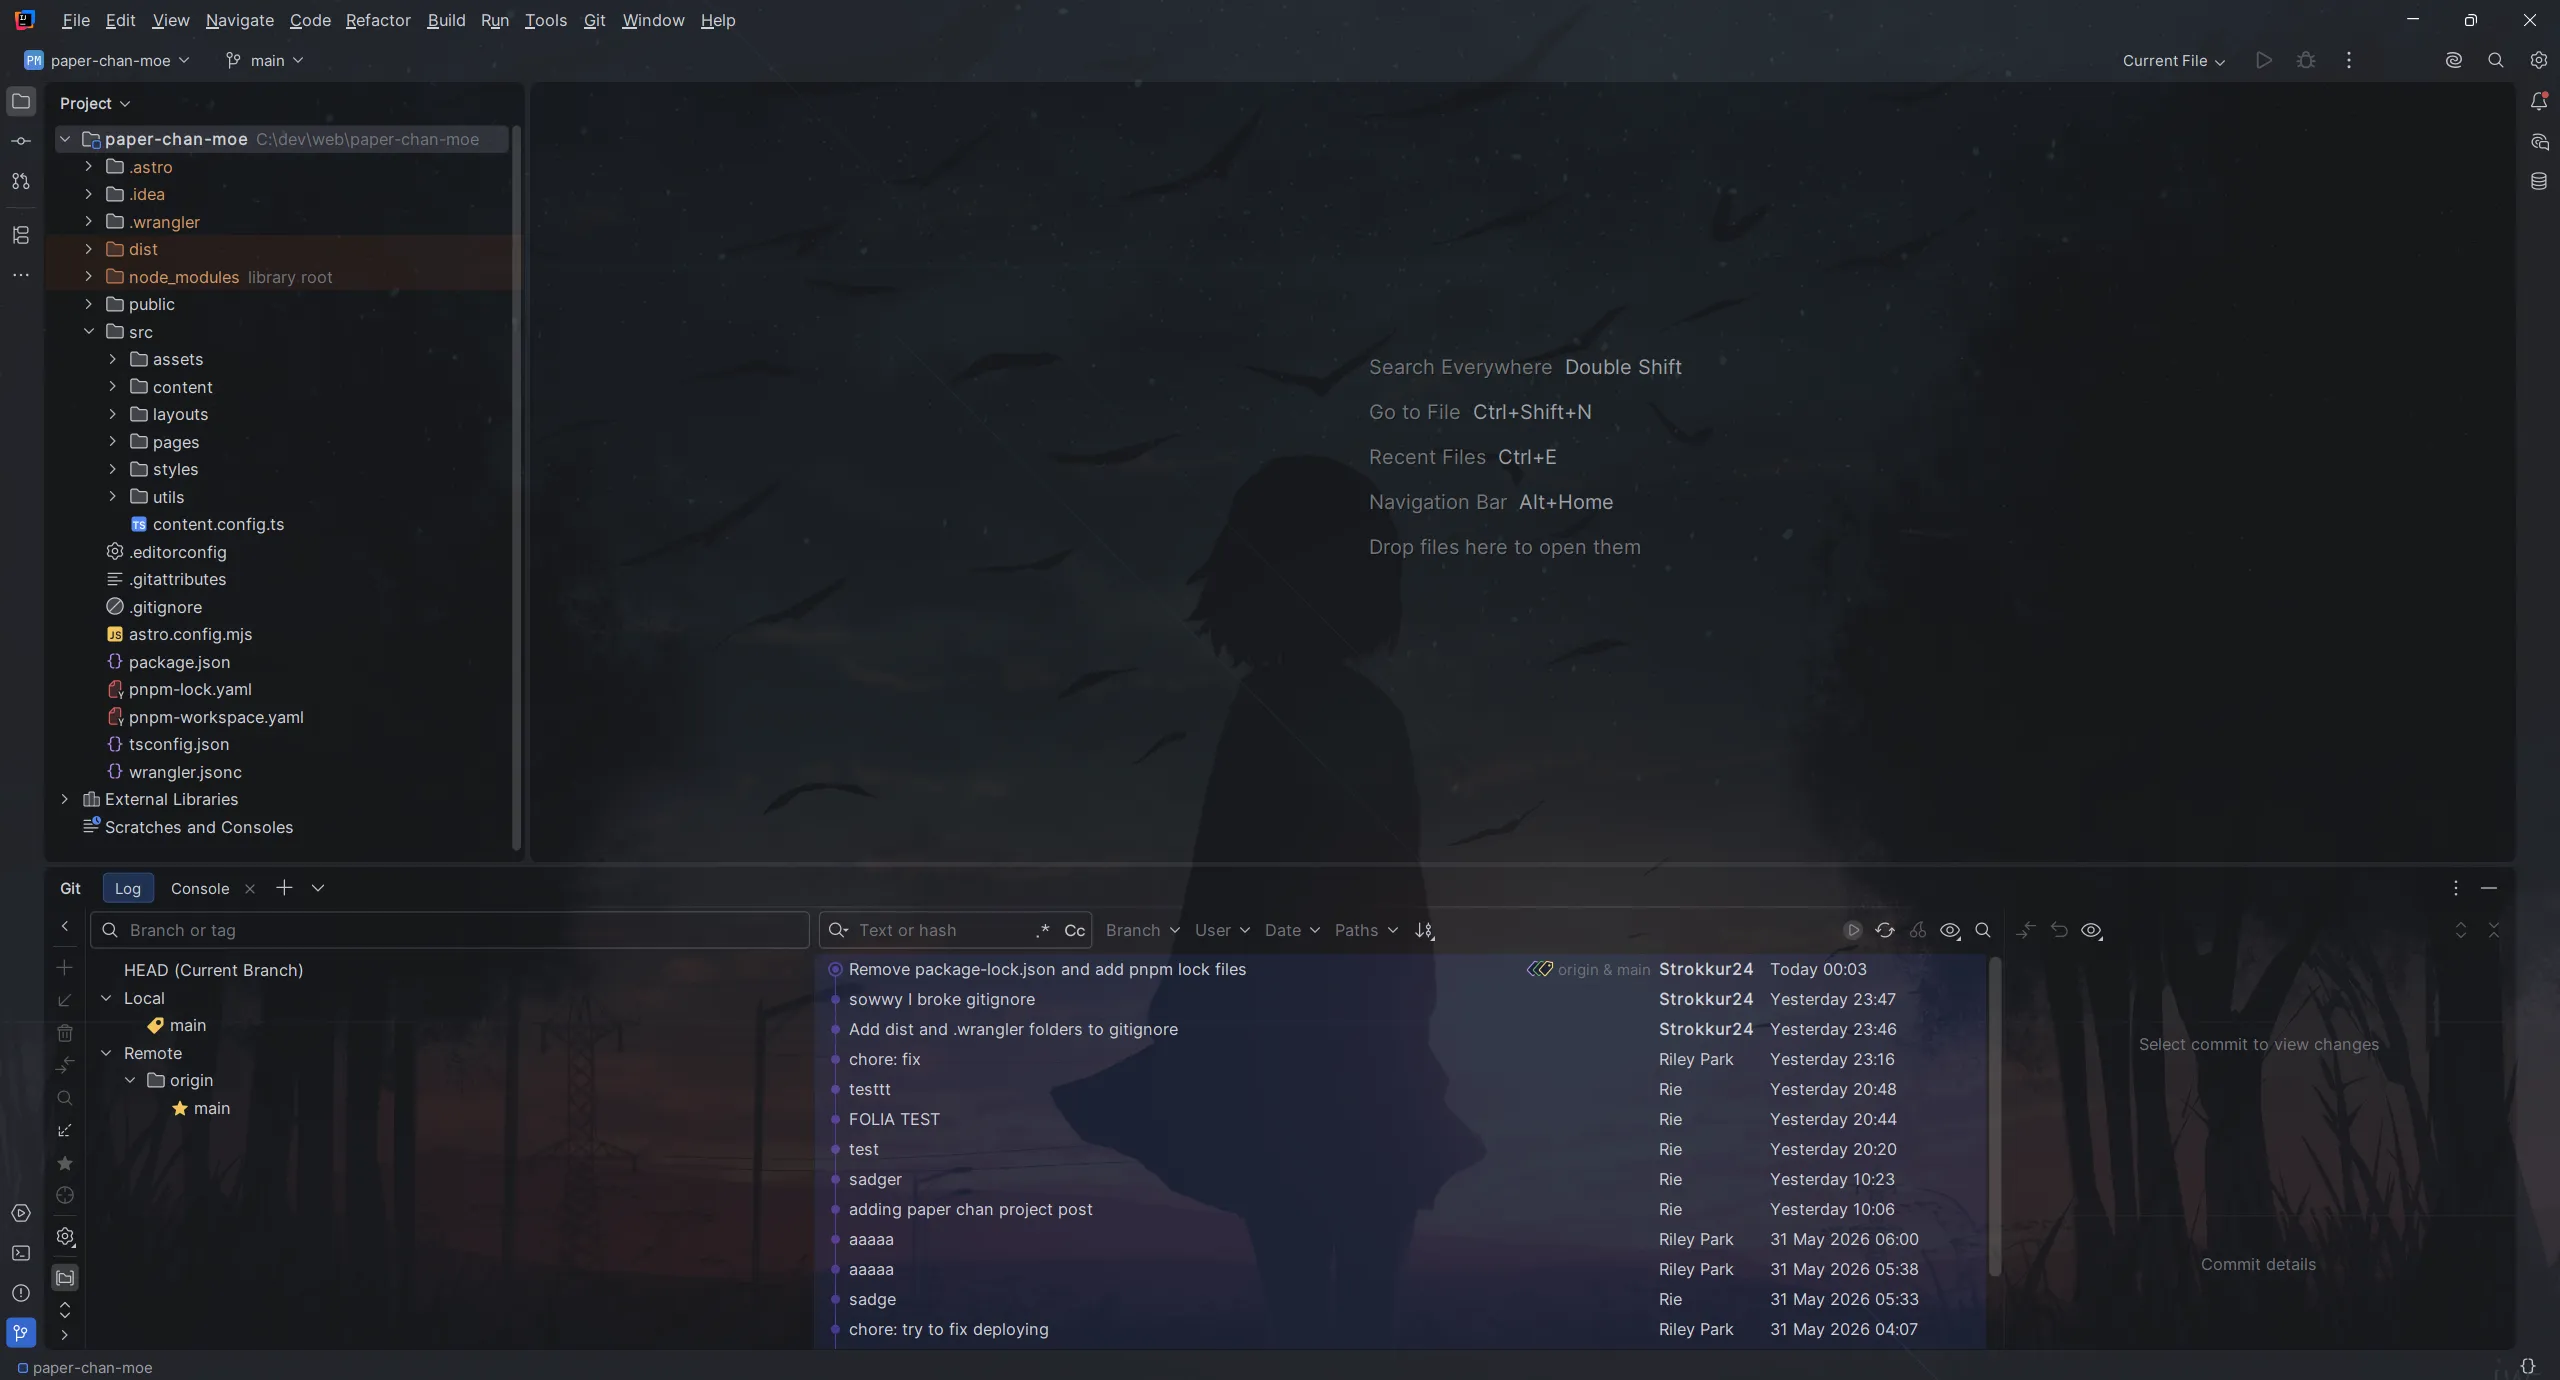
Other git UI stuff
Section titled “Other git UI stuff”Other git stuff can be accessed in the bottom-left-most button of IntelliJ.
Here you can view your branches and remote sources (left side), the commits (middle), and if you have a commit selected, the files changed (right side).
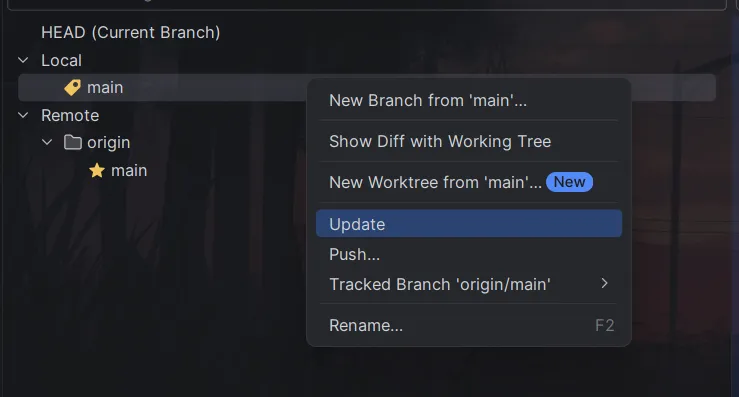
If you want to “pull” (retrieve) changes from GitHub, you can do that by right-clicking the local branch
and pressing Update.
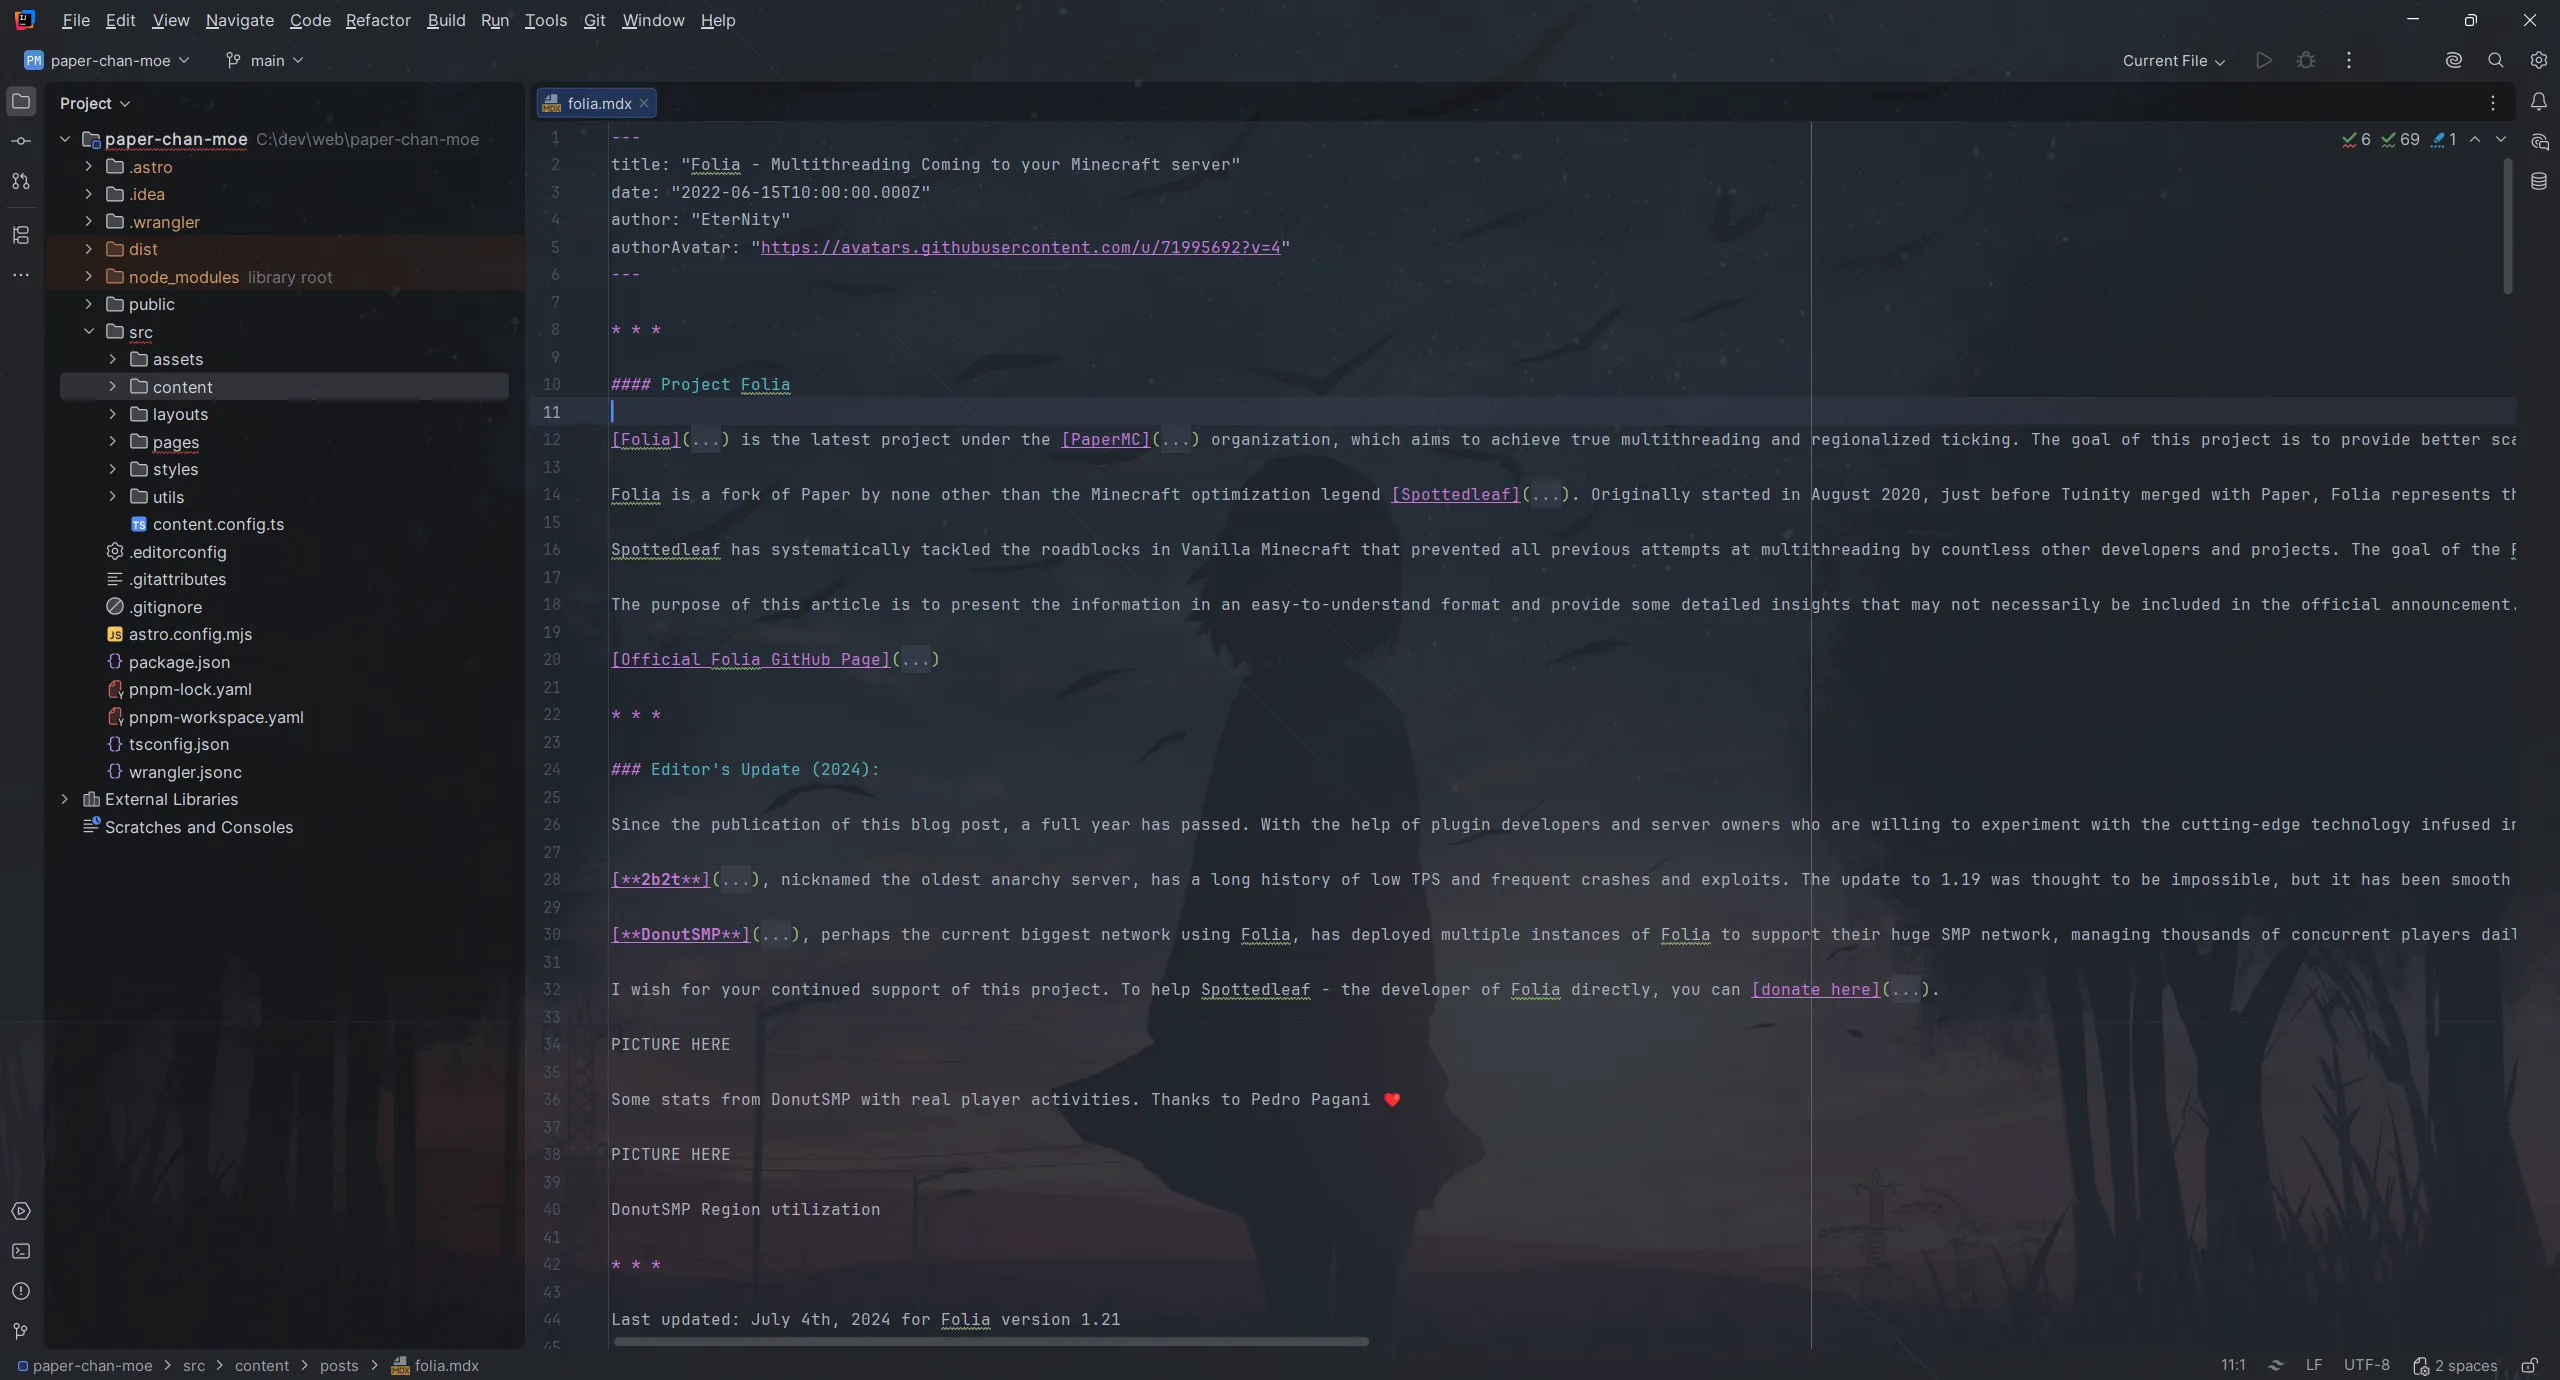
The file editor
Section titled “The file editor”When you select a file in the file viewer, you can edit it in the center. I mean, that should be self-explanatory.
However, there is some stuff that’s annoying. Any for once, that’s wrapping. I noticed you have an awfully large tendency to write awfully long lines, which are plain impossible to properly read.
In order to “fix” this, you can enable soft-wrapping of lines. You do this by entering the settings (keyboard shortcut:
ALT + CTRL + S), navigating to Editor > General, and enabling Soft Wraps > Soft-wrap these files.
You will also have to add a new entry here: *.mdx. Don’t forget a separating semicolon ;!
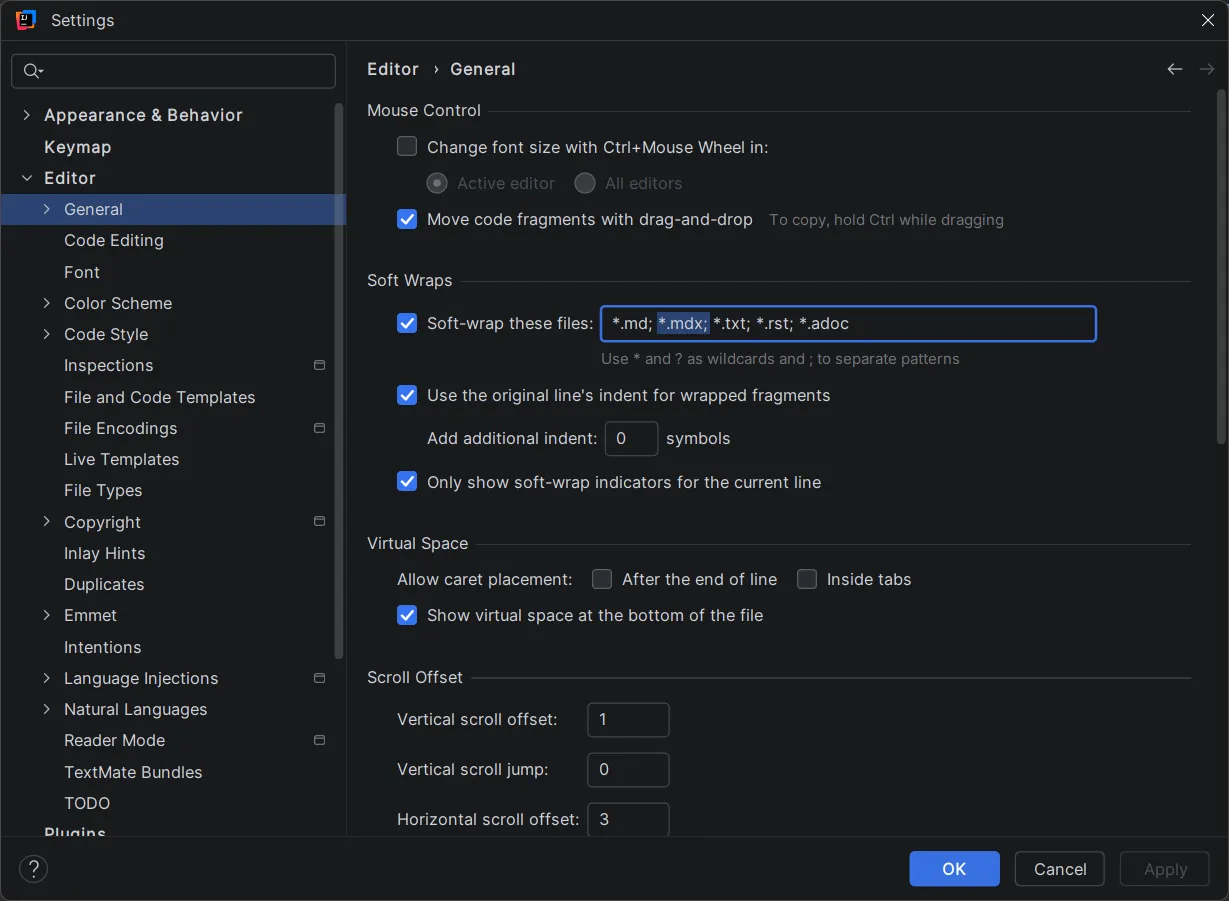
Now you can actually somewhat properly look at the file!

Editing posts
Section titled “Editing posts”The MDX plugin
Section titled “The MDX plugin”In order to edit posts, you have to change a file under src/content/posts. Before we can do this, we need
to install the MDX IntelliJ plugin. By default, IntelliJ only provides syntax highlighting for normal
Markdown .md.
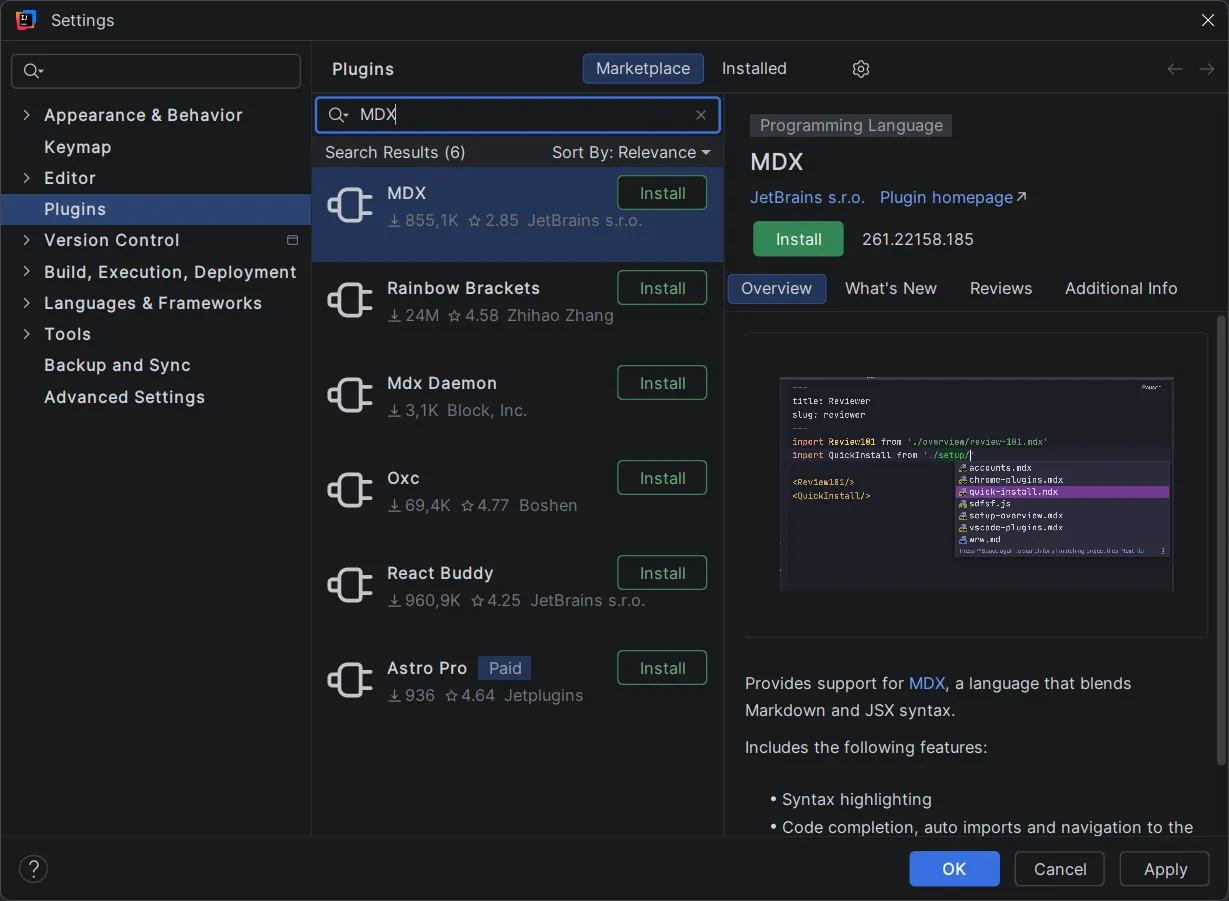
To do this, open the settings screen (ALT + CTRL + S), navigate to Plugins, and then, while having
Marketplace selected, enter MDX. The first plugin (by JetBrains) is the one you want to install. Just
press the big green button.
Press apply. You will now (or after you have closed the settings window) be asked to restart your IDE. Just do it.
Live previews
Section titled “Live previews”A big part of why you are doing this are live previews. Well, let’s get you some.
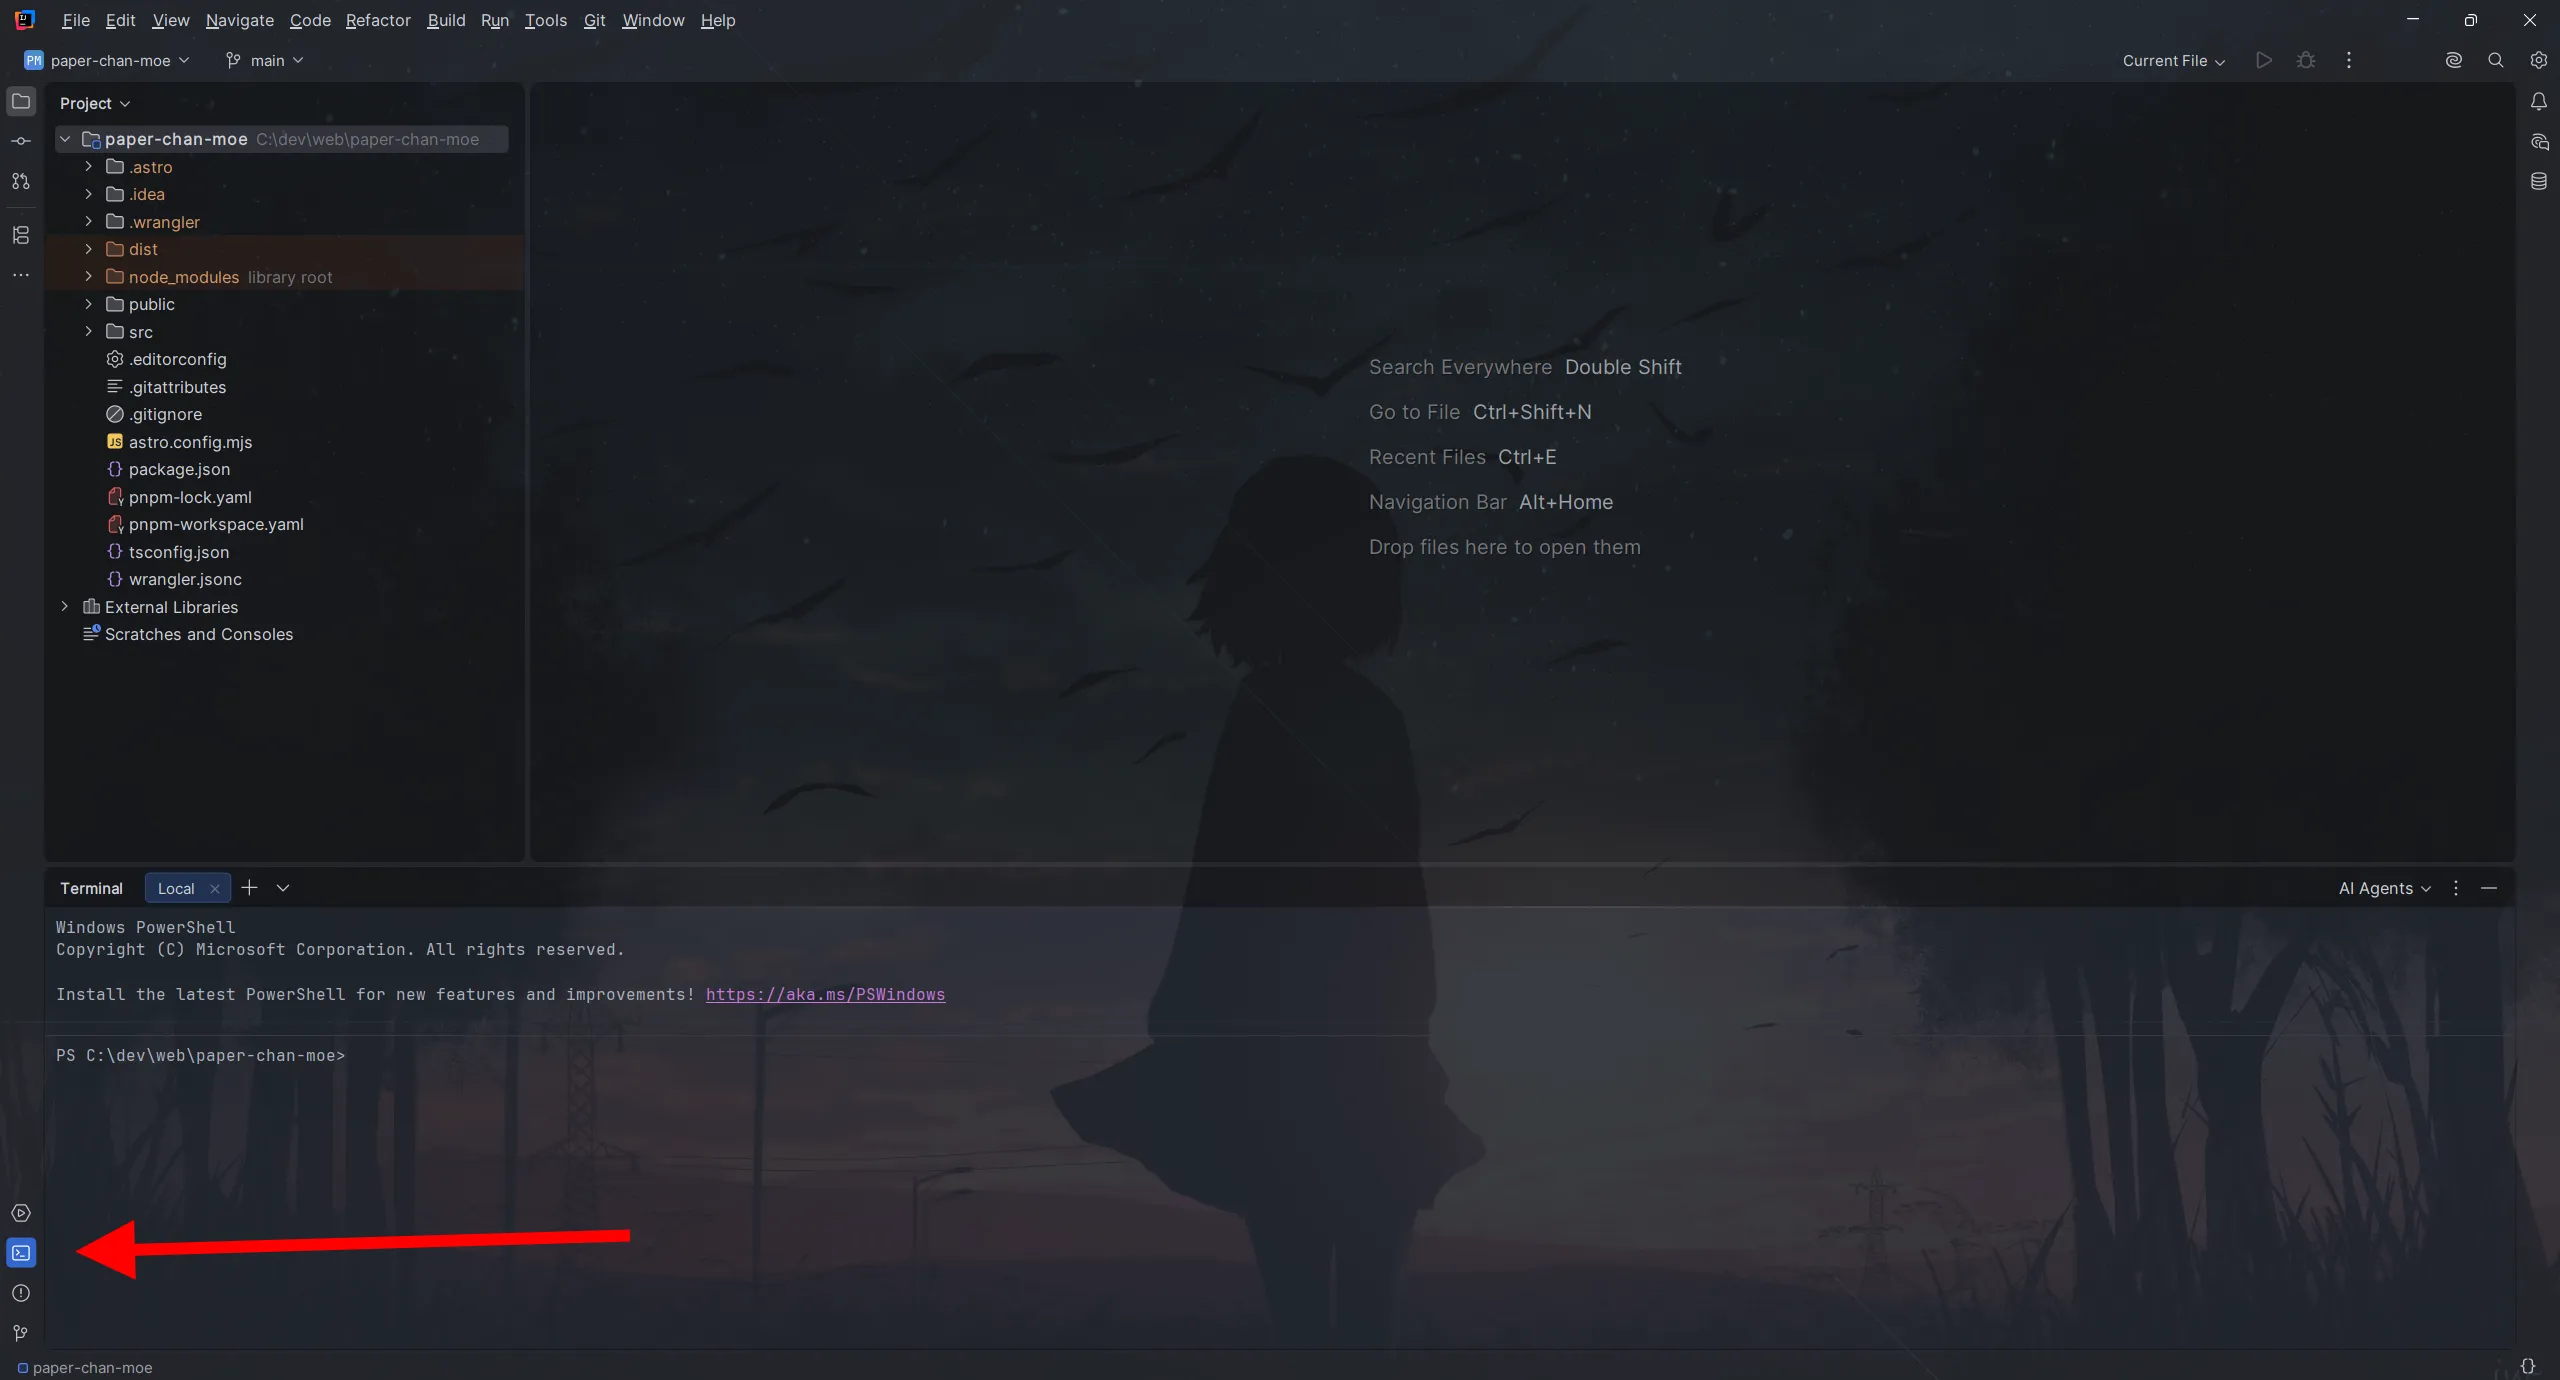
For this, we will utilize the IntelliJ Terminal. You can find it at the bottom-left. Clicking it will open a PowerShell session.
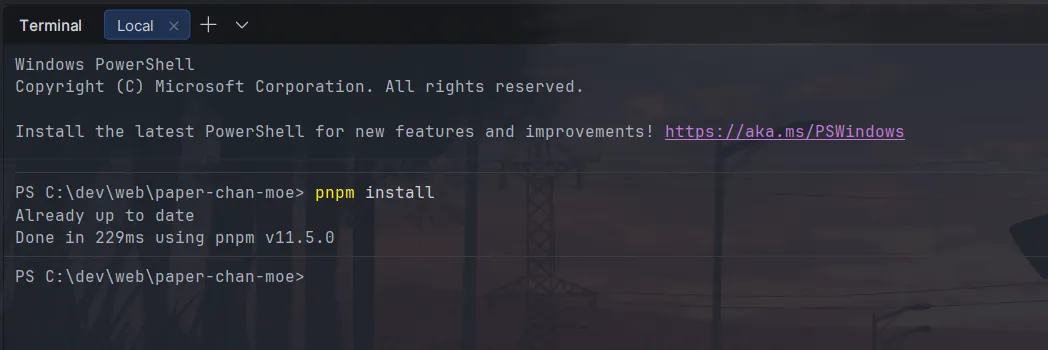
The first step (and one you should always do when you pull changes from GitHub) is always to run pnpm install.
This can take a short while until it has downloaded and installed all the dependencies of the module. Just let it
run and grab a coffee or something.
I already have the project “installed”, so for me it did nothing.
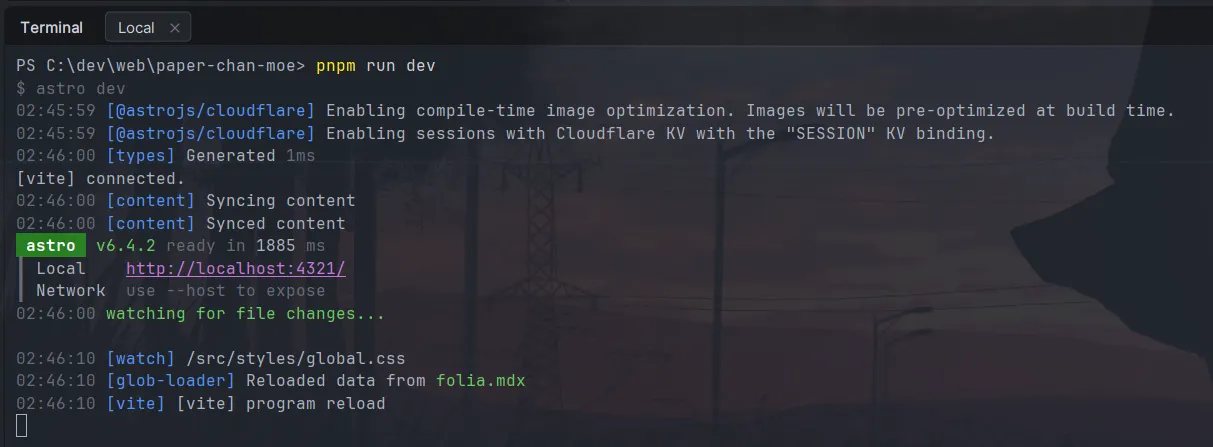
Now that you have installed the project’s dependencies, you can safely the following command:
pnpm run devThis will start a dev server at the URL http://localhost:4321, which you can visit just like any other website!
Now, every time you do a change in one of your .mdx files, it will reflect the changes directly in your web-browser.
This will look something like this, if everything goes right: